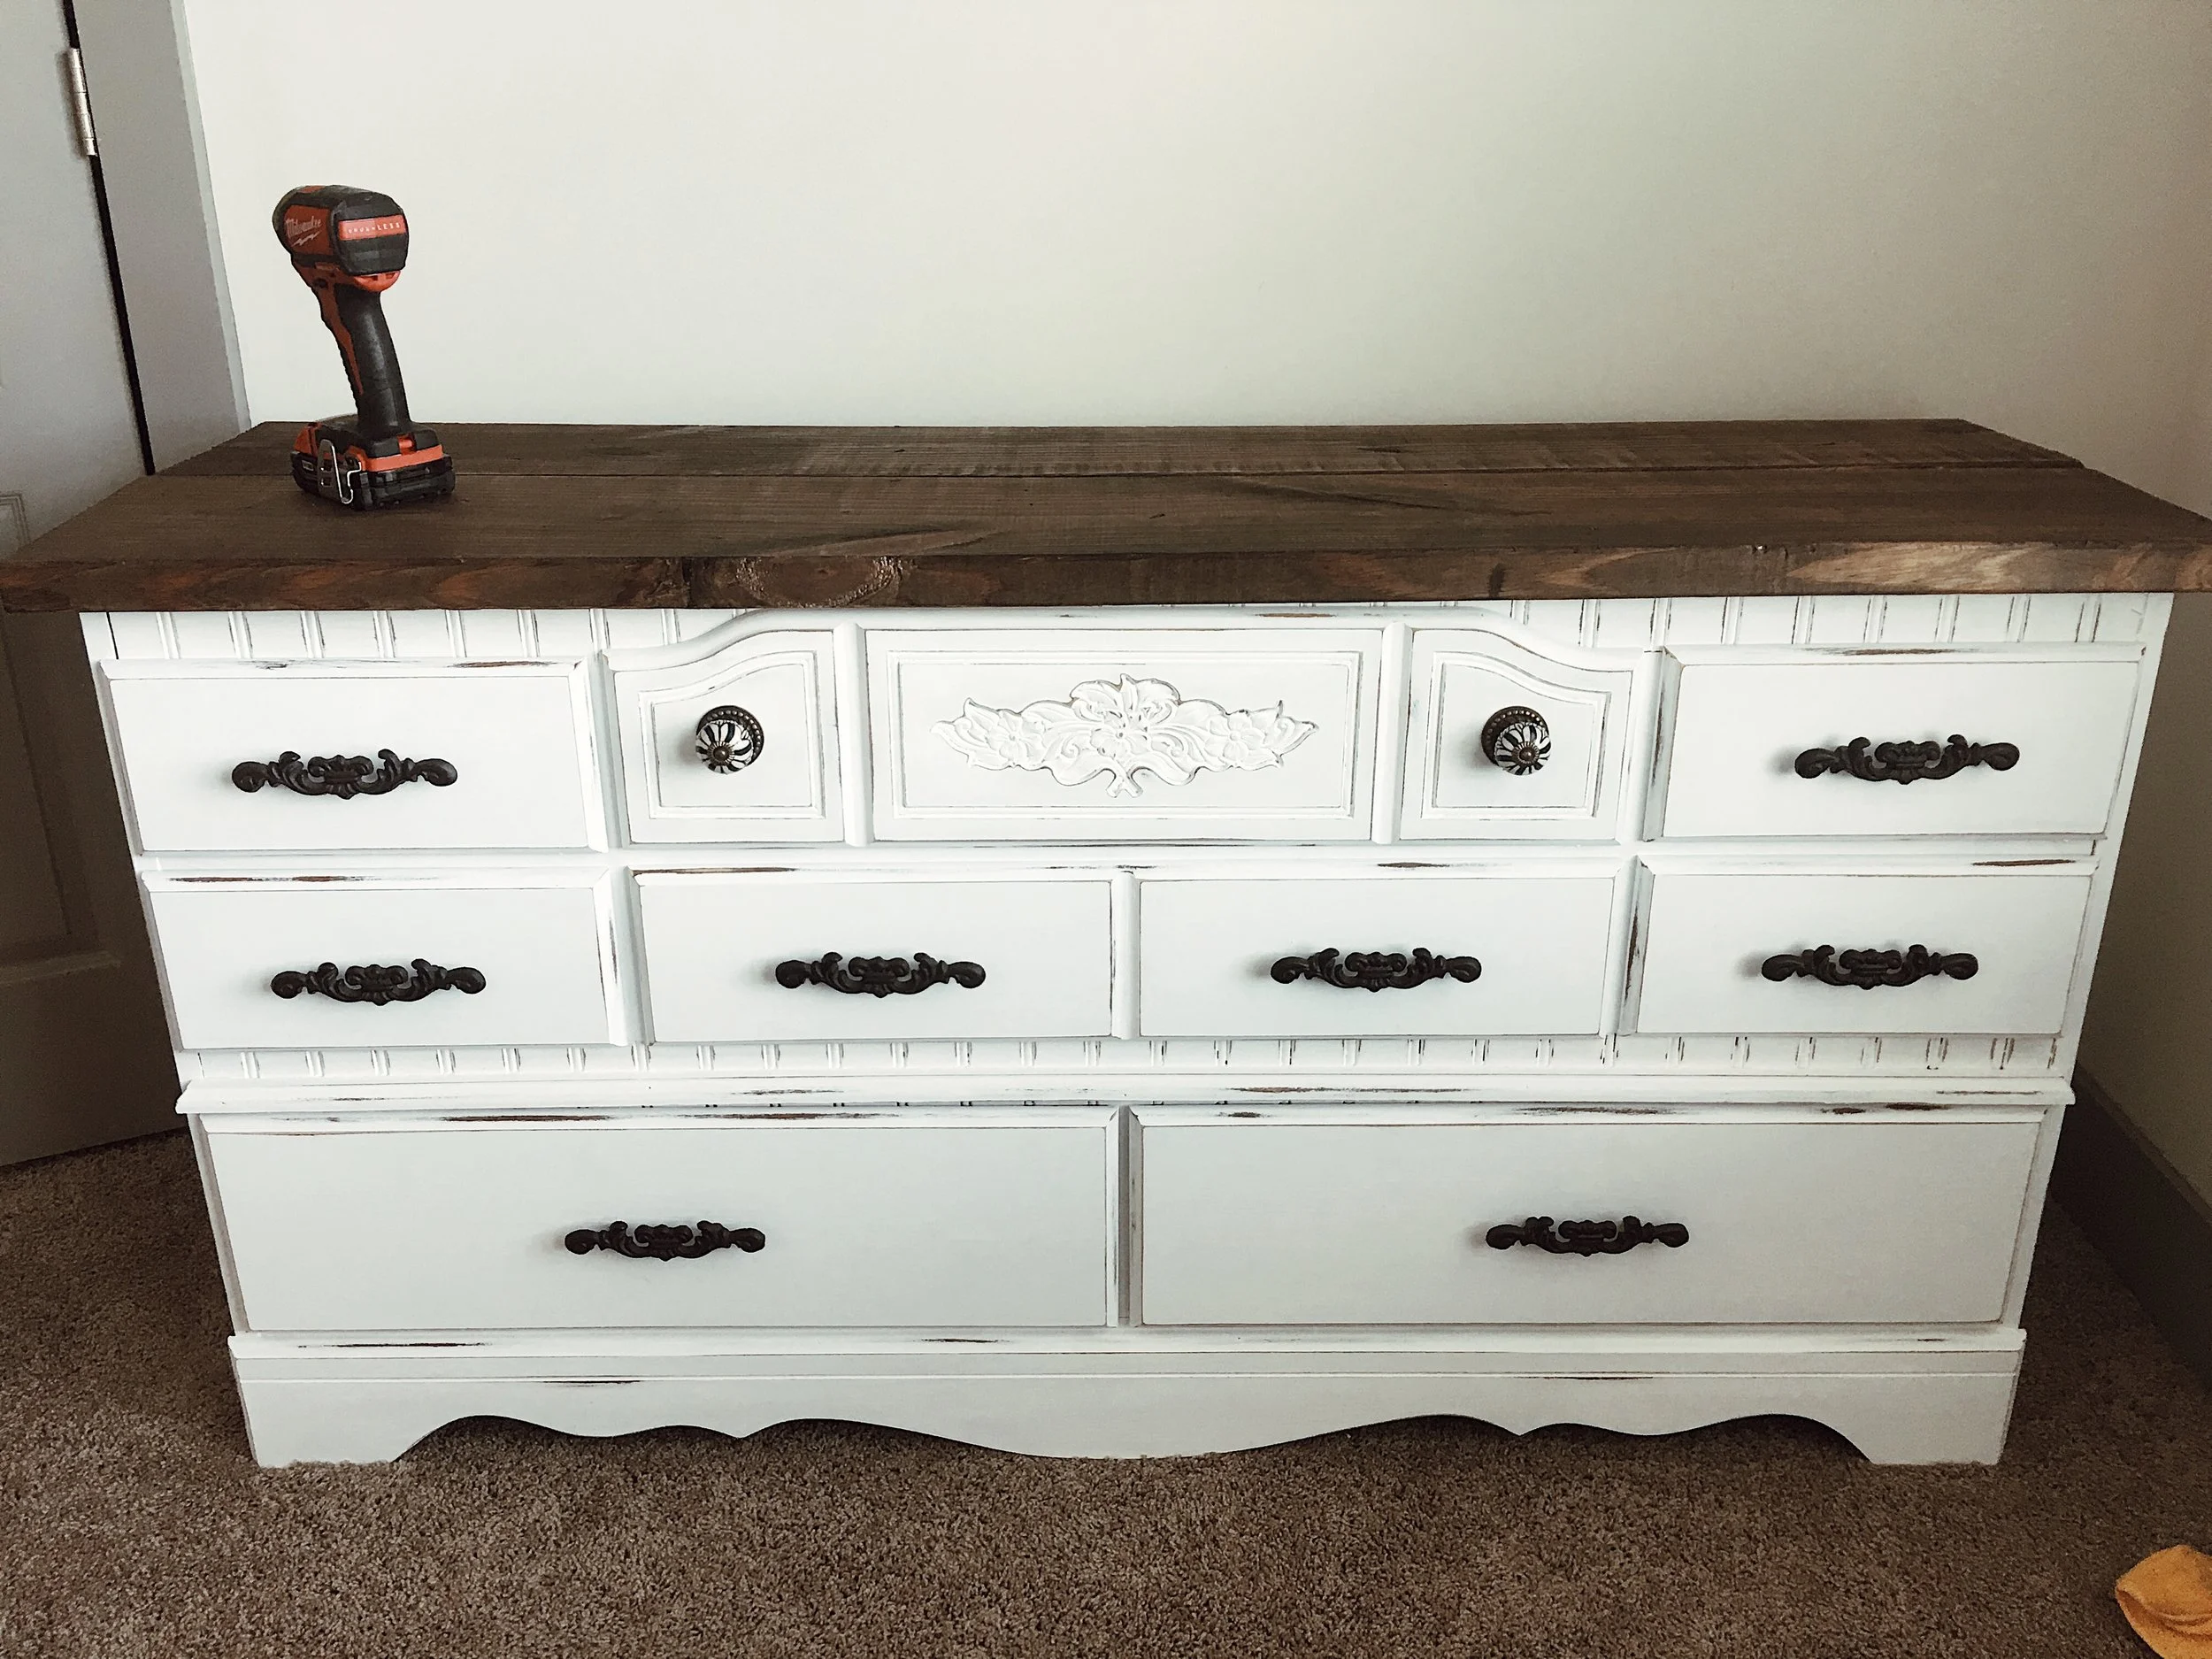
DIY Plank Top Dresser
This past year I’ve dabbled in more DIY projects, there’s something about doing it yourself that makes me happy! This DIY Dresser had a bit of trial and error but I LOVE the way it turned out. I chose to use this dresser because it has a lot of character which makes for a more distressed and textured look. The only thing I didn’t like was the top of the dresser which is why I decided to replace it with wooden planks. Easy fix!
I got all of my supplies from Lowes and their staff was extremely helpful! (ps this is not an ad, they just rock!) I knew I wanted to have contrast between painting the dresser white and using a dark stain on the wooden planks, what I didn’t know what how many white paint options there would be! Literally hundreds possibly thousands, I took home paint swatch after paint swatch and finally the Lowe’s guy convinced me to let him mix me up my own color of white. I should have listened to him much sooner!
Picking out a Minwax stain was much easier, I used the stain “Dark Walnut” on almost all of my projects because of it’s deep, rich, beautiful color. However, I wanted to go a little lighter color this time so chose Golden Oak and Early American. I knew this would happen, but I ended up hating the Golden Oak so I put a full coat of Early American on top and it came out to a buttery dark oak color that I actually love now.
To give your boards a more distressed look you’ll want to lightly sand them using 120 grit paper then clean them off using Tak Cloth. Hammer along the edges and create divots on the top to make a more rustic look. This part is loud and little tedious but definitely necessary! Apply the stain using a rag or an old t-shirt.
For the dresser I painted two coats of Zinsser Cover Stain primer using my Blue Hawk Latex Paint brush. I let each coat dry for 48 hours, which was super annoying because I’m not that patient! I then painted two coats of my customized white Latex Paint using my Project Source Paint Brush, I really liked the smooth finish this brush gave. Once the paint is dry (I let mine sit 24 hours), use a drill to take off the top of the dresser and screw in your stained boards. Drill in the boards from the bottom so that you don’t have nails showing on the top.
Take your sand paper and distress along the edges of the dresser and drawers, use Tak Cloth and clean your dressers off completely before adding the Polyurethane Protective Coat.
I wasn’t a fan of the knobs that previously came with the dresser so I ordered new ones from HOBBY LOBBY half off! You can also find some good ones from World Market or thrift stores.
Happy Building, if you have any questions let me know in the comments below!
WHAT YOU’LL NEED
· Two 1x10 Planks / Measure your dresser beforehand and Lowe’s will cut the boards to fit your needs.
· Oil Based Primer / Zinsser Cover Stain
· Latex Paint / Custom White Blend by Lowe’s Guy
· Minwax Wood Finish Stain / I used Golden Oak & Early American
· Polyurethane Protective Finish / Minwax Satin Water Based Polyurethane
· Latex Paint Brush / Blue Hawk Latex Paint Brush
· Foam Angle Paint Brush / Project Source Paint Brush
· Rag or Old T-shirt
· Painters Tarp / I live in apartment so this was necessary!
· Tak Cloth / Blue Hawk Tak Cloths
· 120 Grit Sand Paper
· Electric Drill
· 4 Large screws (size depending on the width of your dresser/boards)


